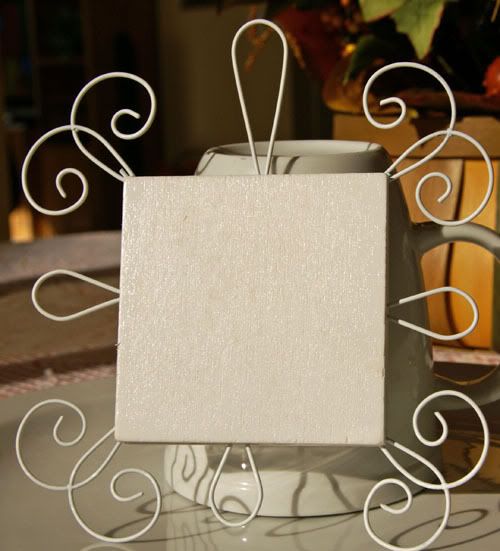
Monday, January 19, 2009

Come play with me!

I'm hostessing the Digichick Sketch Challenge this week - Come join the fun!!!

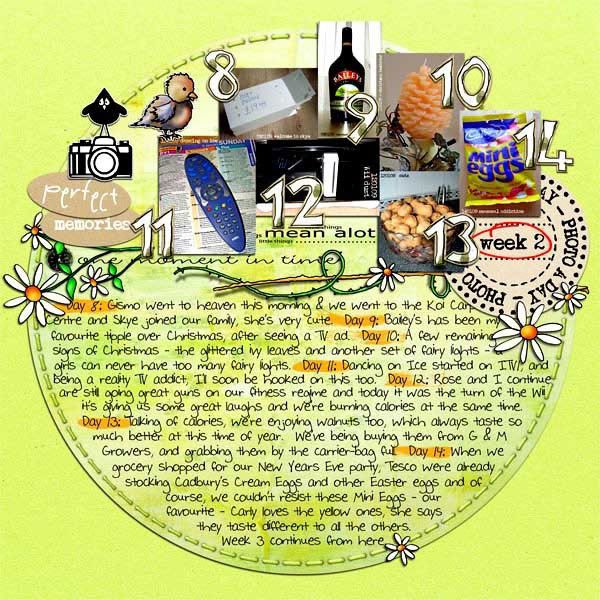
This week I am bringing you a template based off a layout by one of the Digichick's new designers: Dawn Inskip. I just love Dawn's layout that features a week worth of Project 365 pictures.

Here's Dawn's Layout:


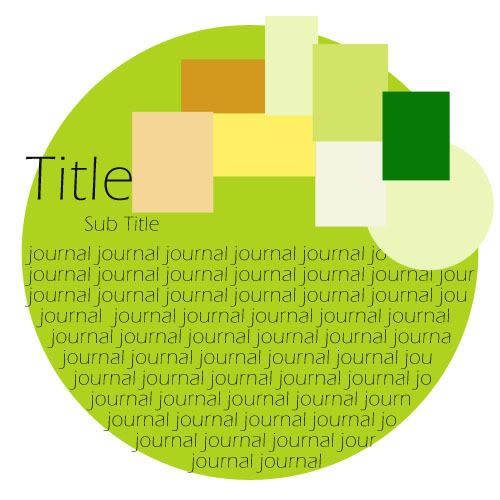
Here's a picture of this week's sketch:


Pick up your copy of a template of this week's sketch HERE.


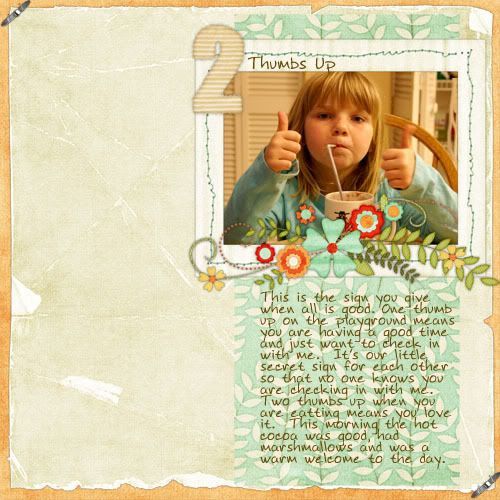
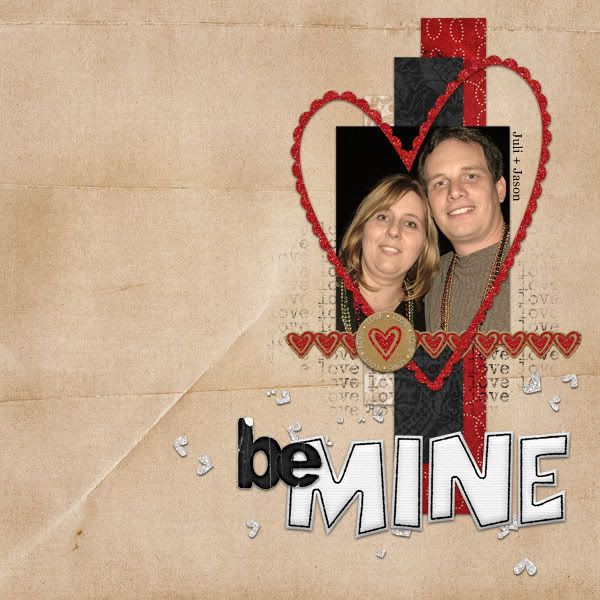
So what else I have I been up to? Lots of layouts and projects for some new publications I'm working with. Here's some of my layouts from the last week. You can check out my main Digital Scrapbook Gallery here: Jubeefish's Gallery.


Thursday, January 15, 2009

A Discount Shopper indeed!

The Sweet Shoppe offered a challenge to find out what kind of shopper you are.

You Are a Discount Shopper

You love to get things as cheaply as possible. You live for sales.
It's partially because you like to save money, but it's also because you like the thrill of finding a fabulous deal.

Of all the types, you tend to shop frequently but rarely by. You keep an eye on prices.
Brand names are not that important to you. You know how to have style without collecting designer tags.


I really didn't need to take a test to know that I love the thrill of finding a great deal. Today I ran in to Target to look for more little metal mailboxes (there were 0) and ended up buying a really cool revolving photo holder for my new desk at work (can't wait to hybrid glam it up), Yahtzee Free For All (under $3), a gel cover for H's Didj, a game for the Didj ($7) and some new lunches boxes for me, H, and K. I didn't need any of it really - but it was an incredible deal. LOL!

Check this out for yourself - what kind of shopper are you?

Wednesday, January 14, 2009

Project 365 - 1/6 to 1/11

I'm actually not doing to poorly in keeping up with a photo a day. Thank goodness for my daughter Katie- she helps me out in making sure I remember and in taking pictures for me. Now, I just need to teacher her how to edit photos and how to post to the blog and we'll be all set - HA!

1/6/09
It's Tuesday and it's time to go back to school. As you can see, Hannah, is not all too thrilled about having to go to school. At least she let me do her hair for her.


1/7/09 - Katie got up early and took a shower to do her hair. She's even checking it out in the mirror before she walks out the door (she's either loving the hair products I got her for Christmas or there is a new boyfriend she isn't tell us about.) hmmm


1/8/09
- I took a nice walk, the weather was so awesome I couldn't resist. I took a lot of pictures on my walk but I liked being able to see the dew on the grass and the potential for a beautiful day ahead.


1/9/09 - Date day! Jason took the day off from work and slept in after watching the Gators win the National Championship. We went to Dunedin and kayaked over to Caladesi Island. It was a beautiful day and other than the water being a bit cold (and me getting soaked) it was a fun time!


1/10/09 - We met my dad at Lowe's and picked up the girls after them making a time capsule. We headed off to Busch Gardens where I left the camera in the car. On the way home Katie remembered we needed to take a picture. Take a look at the dots on the ceiling of my car - that's what happens when you leave cans of soda in your car, in Florida, in the summer - explosion!!!


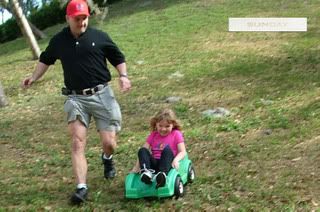
1/11/09- A fun trip down a very big hill for a little girl that was very brave!


The little days of the week tags I used came from this awesome kit
- Project 365 Embellishments by Sugarplum Papier at the Digichick

Tuesday, January 13, 2009

Mini Hybird Mailbox- plus a free template!

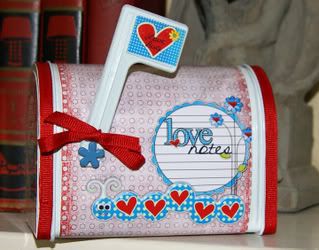
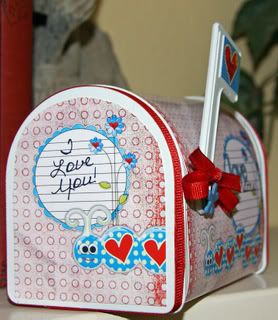
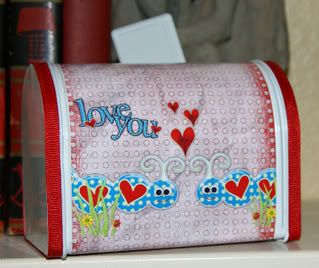
I don't know about you but I totally heart the Target Dollar Spot! Last year I eyed these cute basic tin mailboxes and picked up one after Valentine's Day when they clearence out the Dollar Spot. I've been hanging on to it just to make a little something special for my family for Valentine's Day this year. When I saw that they had them again this year I was delighted and decided to clean out my "things to alter" drawer and whipped up this fun little project.

Here's my finished project from the flag side:


The front


The non-flag side


I used Nikki Beaudreau and Kitty Designs' new collab called Butterfly Girl available at Shabby Pickle Designs to create this project. Check this kit out today for 20% off!


Basic Directions:
Use the Free Template I am providing to you to create your mailbox cover designs.
1. On the long rectangular piece you will see there are two green lines and two black lines. You want to position your design for the sides of the mail box so that they are between these two lines. The green line is the base for each side. Don't forget to rotate your design and put the bottom of the design near the green line so that your design prints right side up for the mail box.


3. I provided two smaller rectangles to be used for the front and back of the mail box. All you need to do is to create your design to fit in the square. The same thing with the Flag piece. You can also duplicate the flag piece so that you have a decorative flag on both sides of the flag piece since you can see it from both sides. (I chose to keep it simple and only use one flag)

4. Print your designs out on your favorite type of paper. I would recommend presentation weight paper for this project, however, I used Glossy photo paper because it is what I had and it gives me the best color.

Assembly: The only thing tricky for assembling this project is getting around the flag pole. After trimming the long rectangular piece and wrapping it around my box (with no adhesive for a dry fit) I snipped where the flag needed to go once I got my position right. All I did was just cut in to where the flag hinge was and then cut a circle based on how big the hinge was. I then slid it in. You can see here the slit and how I tucked the paper in around the flag as much as possible. I would recommend trying this with a piece of scrap paper before you do it with your printed design.

For the front and back door pieces you will need to lay your front piece (that comes off of the mail box) down on the paper and trace on the wrong side. Trim inside the line for the perfect sized piece. Repeat with your back door piece.

Cut out the flag and adhere to the Flag pole. I tied on some ribbon and then used some Monoadhesive around the lip of the doors to adhere some more red ribbon.

That's it - not a hard project at all and you could definitely use up some paper scrapping supplies or stamp this project. It has endless possibilities!

If you give this project a try come back here and link me up so I can leave you some love and feel free to pass along the link to my blog to your friends who might like this project.

Juli

Sunday, January 11, 2009

Cricut Creations and a New Gig with Vera!!!

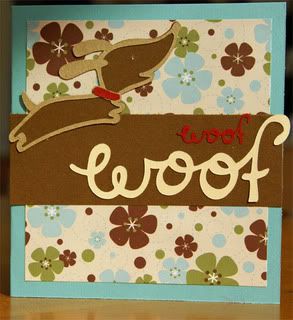
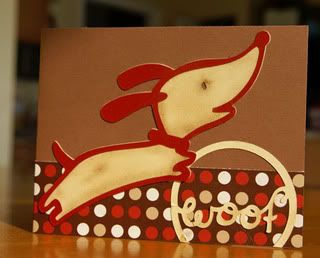
I got a big surprise gift from my mom for Christmas. A Cricut! I had lobbied for a Sizzix Big Shot and my DH told me no- didn't need it. My mom had no idea I even wanted a Sizzix, but saw the Circut infomercial late one night and thought I would enjoy it - lucky me!!! These are the first three cards I made with my Circut Create (the smaller machine).
These are from my all day card making session with my friend Kirsten. We played all day New Years Day with the machine while the guys watched football and the kids played. Heaven!!!
This uses the Paper Pups Cartridge and some Die Cuts With A View patterned paper. I got both that the fabulous Jo-Ann's clearance after Christmas.
This card also uses the Paper Pups Cartridge and the same DCWV paper pack. I used some SU! chalk to help color the dog.


I made this card with the Home Accents Solutions Cartridge that my mom got me as an eary birthday present. :) I used the same DCWV paper pack for accent and the cardstock is most likely Basil and SU!

Vera Lim's CT asked me to join them to be part of their Hybrid Blog Team. This is a really cool gig and I'm so honored to have been invited to join this very talented bunch of ladies. My first project for Vera was also my first ever Digi/Circut project.
A New Beginning Gift Card Bag and Card


I made a 4.75" Cricut Shopping Bag using Tags and Bags cartridge, out of cardstock first so I could measure the paper I cut from and the finished bag to determine the placement of my digital papers and elements. I made myself a little guide template to work from. I ended up being 1/8" off, but I think that was the way I placed the printed design on the Circut cutting mat versus the actual design. The card was designed to fit in the bag and hold a gift card.

This project features Vera Lim's newest kit being released on 1/12/09 at Shabby Pickle Designs.


I'm looking forward to coming up with more projects using my digiscrapping supplies and the Circut. I'm still getting the hang of using the Cricut - I think my 10 year old actually has it down better than me - figures!

Tuesday, January 06, 2009

Happy New Year! Project 365 has begun

Well, I took a little unintended hiatus in December from blogging. Mostly because I starting working full time again and wanted to give it my all - plus with all the holiday stuff going on...it was crazy here!

I am back on the project train again...especially while I'm home this week and possibly next waiting for my background check to go through for my new job.

Here are my first 5 Project 365 photos and some little stories to go with them. :)

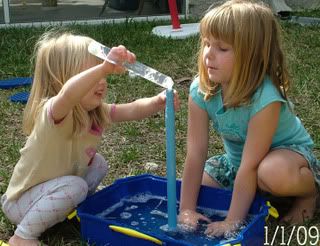
Day 1 - 1/1/09 New Years Day - our friends stayed the night with us NYE and then stayed all day New Years Day to play. The guys watched football all day, the women played with my new Cricut machine and the girls (3 of them) took turns playing together and playing in little groups. This shot is of Hannah and Olivia finding a way to play with water in the backyard (they were supposed to be playing bubbles)

Day 2 -1/2/09 Mommy, Daddy and Hannah day. Katie went and spent the day and night at her friend's house because we were supposed to be working on the old house all day. The plan changed and we spent Friday getting ready to work on the house on Saturday when my family could help us out. Mommy, Daddy and Hannah spent the day running errands and just enjoying each other. That night we got out the Wii Fit and had fun playing. This picture is of Hannah taking a Wii Fit break between games (she is so competitive and likes being first!)


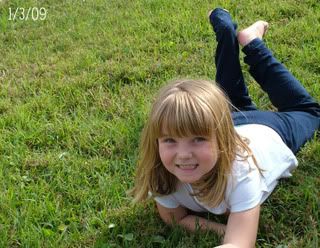
Day 3 - 1/3/09 Clean up Day!!! We all went over to our old house and spent the day cleaning, painting, etc hoping to get a buyer for the house. Katie helped me out with the picture for this day - she is going to be my backup photographer for this challenge. So here is Hannah in the grass outside in the backyard near the lake.


Day 4 - Another Cleaning Day - Jason's old college roommate Mike asked to stay with us because he had a flight back home on Monday. So...more cleaning to get the house picked up and the girls' rooms back in order. It seems that instead of cleaning the girls were playing Hide & Seek - shhhh, don't tell mom (but take a picture)- yeah that's a good plan. LOL!
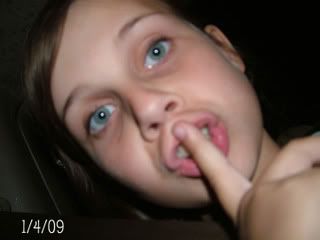

Day 5- 1/5/09 - Peace at last! The girls went off to camp, Jason went off to work, Mike went the airport and the house was quiet for the day (no TV, no music, no nothin'). I decided it was time to start putting away or at least rounding up the Christmas decorations. Here are my favorite decorations - my snowmen. I had to resist the urge to tell them to smile - hey wait, they are already smiling! LOL!
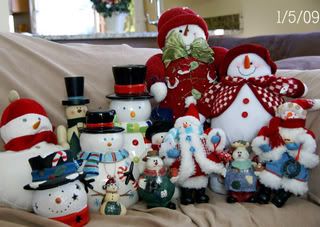

Well...I think this is a good start to the 365 Project, at least for me. Thank goodness Katie is going to help me out. Jason gave her my old Fuji digital camera after Christmas and made her buy herself batteries and she has to buy herself a camera bag if she wants to use it. Honestly, I'm excited to have it out for some quick pictures. Getting out my Sony with the big ol' lense takes a few minutes and I like to put it back right. With the Fuji it's just grab, go and shoot!

Off to make something fun with my digiscrapping supplies and my Cricut - I'll be back tomorrow with some pictures. :)
Sunday, December 14, 2008

It's a Blog Carnival!

Welcome to the December 15, 2008 edition of digital scrapbooking.

Kelly-Ann Halbert presents Designer Technique December 2008 (Something Blue Studios) posted at Hummie's World.

Kelly-Ann Halbert presents Blogtemplate 4 posted at Youandidigidesign by Fryske.

Tutorials
StarXLR8 presents Getting Started: Printing your digital scrapbooking pages posted at Simple Scrapper, saying, "One in a series of "Getting Started" tips for beginners!"

Andrew Edgington presents 10 Free Articles about Photoshop posted at AdobeArticles, saying, "Grab these 10 free articles about Photoshop Editing Tools."

Andrew Edgington presents Photoshop Elements for Photography Enthusiasts posted at Learn Adobe Elements, saying, "Simple Photoshop ELEMENTS Video Tutorials that will help you conquer Photoshop in no time at all. Take a look at their blog for a free sample video."

Andrew Edgington presents Tips for Zooming in on Your Subject posted at Learn Digital Photography Now, saying, "Tips on how to use a digital camera like a pro. An insider look at the latest digital cameras and in all, a great guide for digital photographers."

StarXLR8 presents Getting Started with Digital Scrapbooking posted at Simple Scrapper.

That concludes this edition. Submit your blog article to the next edition of digital scrapbooking using our carnival submission form. Past posts and future hosts can be found on our blog carnival index page.

Friday, November 21, 2008

Cards!

I have some hybrid cards and another little hybrid goodie for you today. These were all made from the same 1 sheet of 8.5 x 11 cardstock like I talked about in yesterday's post.

Snowdrop Soup Cards Photobucket
When I saw this adorable kit by Nikki Beaudreau at the Shabby Pickle I just knew I had to work with it! You can check out this awesome kit here. Nikki is releasing an add-on to the kit as part of the Pickle Barrell kit coming out soon. If you've never seen the Pickle Barrell kit - it rocks! It's mini kits from each of the awesome Shabby Pickle designers for a really low price. Make sure to check it out around Dec 1st.

To make these cards I simply made myself a little 3.9" x 3.9" template and designed the card front right on that template using drop shadows to make it look like the card is layered with goodies. When the card front was done I merged the layers and copied it over to my 8.5 x 11" canvas for printing. I used some 8x8 Die Cuts with a View papers and just cut them in half, folded and mounted the card front right on the card.

Up close of the owl card - I added some fun red trim by tying it around the card front to make it look more homemade.
Photobucket

Up close of the penquin card (part of the Add On kit) - I punched holes using a handheld Fiskars punch and then put silver brads in backwards so you could see the prongs holding the paper for a different look.
Photobucket

My next card features a cool kit called Mamma Joe by Tamara D at Scrappy Thoughts.
Photobucket
I answered a one kit call for Tamara and ended up getting to work with this awesome kit for her. She's a designer I didn't know yet and it was wonderful to get to use her product for the first time - Thanks Tamara!
Photobucket

A Cute little project for the holidays - Hybrid Wrapped Candles. I used the Snow Girly kit by Angie Kovacs at Elemental Scraps (which is down for a host move right now - more about some exciting things at Elemental Scraps next week) to make this adorable candle. Photobucket

As you might be able to tell, this is one of those Glade candles for the holidays that I decorated. I'm going to be making a little box to put this in along with a few other things for Katie's Orff teacher for the holidays. I'll post a picture when I get the whole thing done.

To make this I just made strips like with the Robot Can and then made the front square out of a journaling box in the kit. I placed on the snowman so he overlapped the pink journaling box a bit for some interest and then used TK Peking Chicken Fingers font (Digichick) to type Warm Wishes. AGain - easy, peasy and looks impressive when you are done. I used hot glue to adhere to the glass jar.

I hope this gives you a few more ideas for the holidays! Not sure if I'll be here over the weekend or not. Katie has her 10th birthday party tomorrow night (a 4 friend sleepover) and then on Sunday we are having Thanksgiving with my side of the family at my parents' house. I'm also getting ready to host my first Thanksgiving in our new home for Jason's family (my parents and my sister are coming too!). Lots going on in the Fish house right now - just the way I love it!!!

Thursday, November 20, 2008

New Projects

Well...I am taking a break from Christmas ornaments. The chipboard and I didn't get along too well. LOL! So...I've been focusing on some little hybrid gifts for the holidays to give to teachers, neighbors, etc. You know, those people you just have to get something for, but can't afford to spend alot. What is better than a homemade, thoughtful gift?

Here are two cute ideas you can convert to any theme you want depending on the papers and elements you choose to go with it.

I made this using a little clear paint can I picked up at Target in the Stationery section. It had some little square gift cards in it (which will be tied together with ribbon and used in my teacher paint cans this year). I used Blast Off digital kit by Kasia Designs and Holly Designs at the Shabby Pickle to make this project.

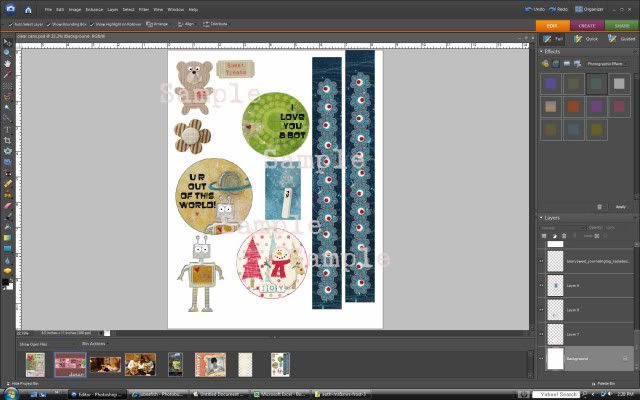
Details: When I create hybrid projects like this I keep a 8.5 x 11" canvas open in Adobe Elements and as I create each piece I paste it on to the canvas for printing. To make this project I simply measure around the can and realized I would need two 1.25" wide strips of paper to make it around. I then measured the height of the can and designed the circle to fit on the front of the can to help cover one of the seams from the strip of paper going around the can. I chose a 2.5" circle as a template/clipping mask and cut the circle from my choice of paper. I added the star burst (reduced transparency) and the "I Love U a Bot". I created a 3" circle for the top of the lid and then a square tag that I cut to look like it had a unique angle. Everything was printed on glossy photo paper for a really crisp look.

Here is what my 8.5 x 11" canvas looked like for this project and the accent pieces for the one below (plus one more I still need to post). I print all this together and then just cut out and assemble the projects. It saves paper and in my mind ink.

Project #2 is another of Kelleigh Ratzlaff's Tall Boxes - I love these templates! This time I used Kasia's Beary Sweet Kit and a CMS oval cutter to cut a hole in the front of the box. I adhered some transparency inside and made the lid out of cardstock from my stash. The Bear and Ticket were printed with the project above on glossy paper and then adhered with some hot glue, which surprising gave them some dimension off the box. I love happy accidents!


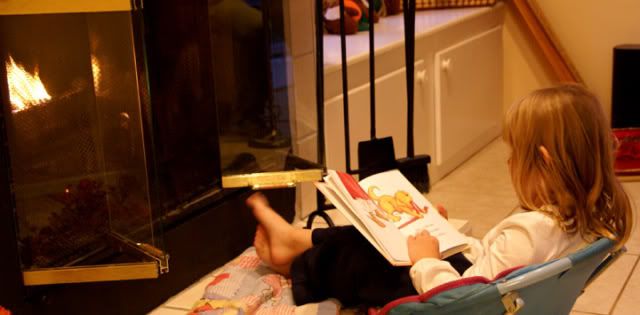
On a non-scrapbooking note the girls and I had a fun night on Monday night. It's been a little cold here for Florida so I had Jason make a fire. Hannah got a yellow star for not following directions in school so she wasn't allowed to watch TV. She chose to put her little naked feet up on her sacred Pooh Blanket by the fire and sat and read a book. I couldn't believe it! So stinkin' sweet!


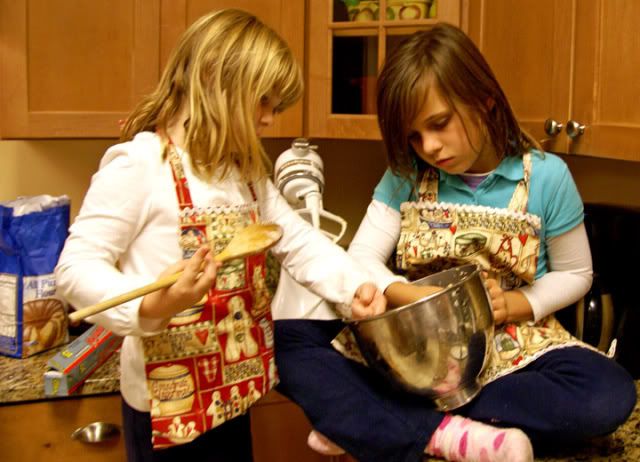
After dinner the girls and I made our first batch of Christmas cookies. We made Cherry Chocolate Blossoms. I really don't need to even help at this point because they both are really good bakers so I stood back and directed while they did all the work and they did a fabulous job (as long as they each had their own task). When all the balls were rolled and baking the girls enjoyed some dough and since this recipe is egg free no worries!

Here's what our cookies looked like when all was said and done. If you want the recipe shoot me a note in the comments and I'll post it if there is enough interest.

Sunday, November 16, 2008

Day 2 - Hybrid Ornaments

Today's ornaments feature box templates that have been scaled down to the perfect size to decorate the tree. The great thing about this type of hybrid ornament is that you can use any kit. Christmas themed or to match your favorite holiday color theme.

The first ornament features Kelleigh Ratzlaff's Tall Box Templates.


I simply used the box template and scaled it down and then decorated using Penny Springmann's Jolly Jingle kit that was just recently retired. To tie the ribbon on I punched a hole in the top and threaded through some ribbon - easy peasy! You make the project as easy or as hard as you want it to be by how decorated you make the box.

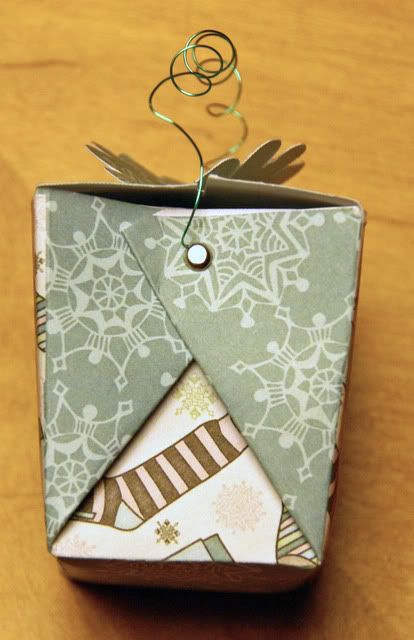
My second ornament features the Take Out Box Template by Kelleigh Ratzalff at Digichick, which I scaled down again.


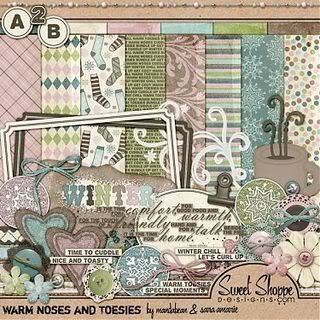
For this ornament I used SaraAmarie and Mandabean's new kit Warm Noses and Toesies (Sweet Shoppe.)
The great thing about this template is that you don't need glue to hold the box together. I just used a silver brad on each side and then used some SU Wire to craft a handle that is attached to each brad. The other thing I did to make this box look more unique was alternate the papers in each section. So the sides where the brad is adhered shows the snowflake complimentary paper that matches the top.

For my final box template ornament I chose to use the Hershey Kiss box from Jersgirl's template site. She has lots of awesome templates on this site! For this one I didn't have to scale it down - I just expanded the template by copying it from the PDF file and pasting it into Elements and then resized to fit 8" across.


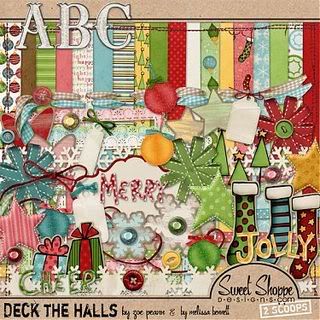
I used Zoe Pearn and Melissa Bennet's new kit Deck The Halls (Sweet Shoppe) to create this fun ornament.

These are super simple and you could fit two on a page easy. To attach the ribbon I just punched a hole in the top of each triangle and then assembled and tied on the ribbon. Again, easy peasy and cute as a button.

Tomorrow I have ornaments that use left over alphabet chipboard as the base for a hybrid ornament. Come back and see what's new!

Friday, November 14, 2008

Christmas Ornaments - Day 1


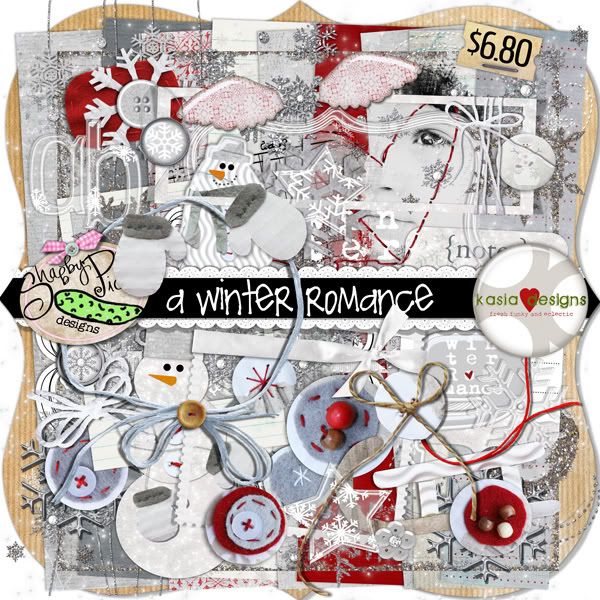
I've been trying to make all different kinds of hybrid Christmas ornaments to help decorate our new house. Today's ornament features a great new kit call A Winter's Romance by the fabulous Kasia Designs at Shabby Pickle Designs.


I designed a small layout to fit in the square open space using Adobe Elements and then printed out on SU white cardstock. I cut out the square and adhered to the ornament by applying a thin layer of Mod Podge to both the ornament and the back side of the paper. I then smoothed out the paper and let it rest for a few days. To finish the project I simply put Mod Podge over the top of the paper (I did have some red in bleed but I think it makes it look a little more vintage.) Once dry I used a glue pen and some red glitter to finish off the sides. I tied on a irradescent bow and voila - a cute homemade ornament. It will look great on our red, light blue and silver tree.

Keep coming back. I'll have a new ornament for you each day until I run out of ideas. :)