Here are two cute ideas you can convert to any theme you want depending on the papers and elements you choose to go with it.


I made this using a little clear paint can I picked up at Target in the Stationery section. It had some little square gift cards in it (which will be tied together with ribbon and used in my teacher paint cans this year). I used Blast Off digital kit by Kasia Designs and Holly Designs at the Shabby Pickle to make this project.
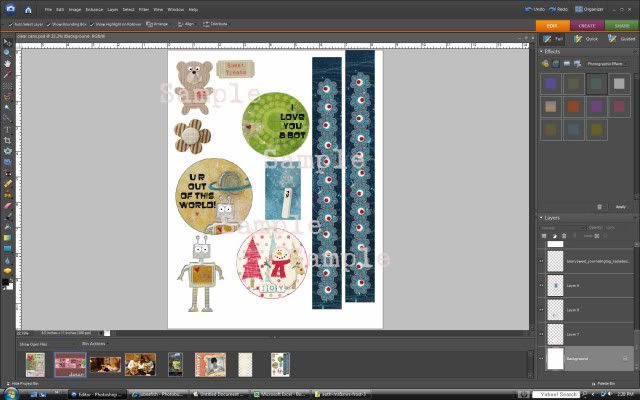
Details: When I create hybrid projects like this I keep a 8.5 x 11" canvas open in Adobe Elements and as I create each piece I paste it on to the canvas for printing. To make this project I simply measure around the can and realized I would need two 1.25" wide strips of paper to make it around. I then measured the height of the can and designed the circle to fit on the front of the can to help cover one of the seams from the strip of paper going around the can. I chose a 2.5" circle as a template/clipping mask and cut the circle from my choice of paper. I added the star burst (reduced transparency) and the "I Love U a Bot". I created a 3" circle for the top of the lid and then a square tag that I cut to look like it had a unique angle. Everything was printed on glossy photo paper for a really crisp look.
Here is what my 8.5 x 11" canvas looked like for this project and the accent pieces for the one below (plus one more I still need to post). I print all this together and then just cut out and assemble the projects. It saves paper and in my mind ink.
Project #2 is another of Kelleigh Ratzlaff's Tall Boxes - I love these templates!
 This time I used Kasia's Beary Sweet Kit and a CMS oval cutter to cut a hole in the front of the box. I adhered some transparency inside and made the lid out of cardstock from my stash. The Bear and Ticket were printed with the project above on glossy paper and then adhered with some hot glue, which surprising gave them some dimension off the box. I love happy accidents!
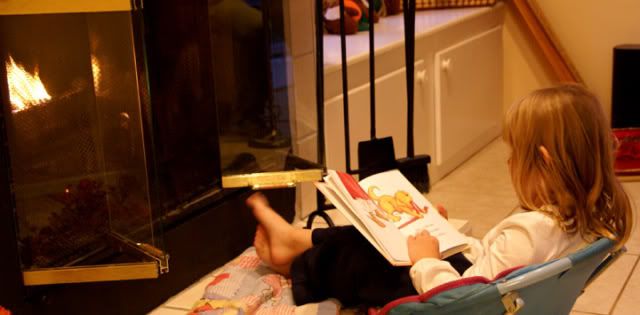
On a non-scrapbooking note the girls and I had a fun night on Monday night. It's been a little cold here for Florida so I had Jason make a fire. Hannah got a yellow star for not following directions in school so she wasn't allowed to watch TV. She chose to put her little naked feet up on her sacred Pooh Blanket by the fire and sat and read a book. I couldn't believe it! So stinkin' sweet!
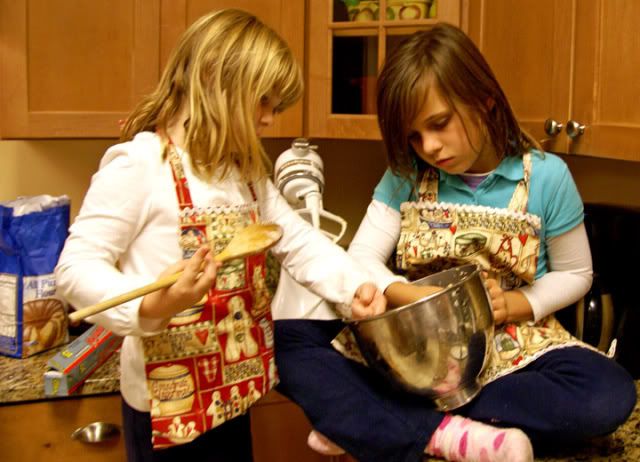
After dinner the girls and I made our first batch of Christmas cookies. We made Cherry Chocolate Blossoms. I really don't need to even help at this point because they both are really good bakers so I stood back and directed while they did all the work and they did a fabulous job (as long as they each had their own task). When all the balls were rolled and baking the girls enjoyed some dough and since this recipe is egg free no worries!
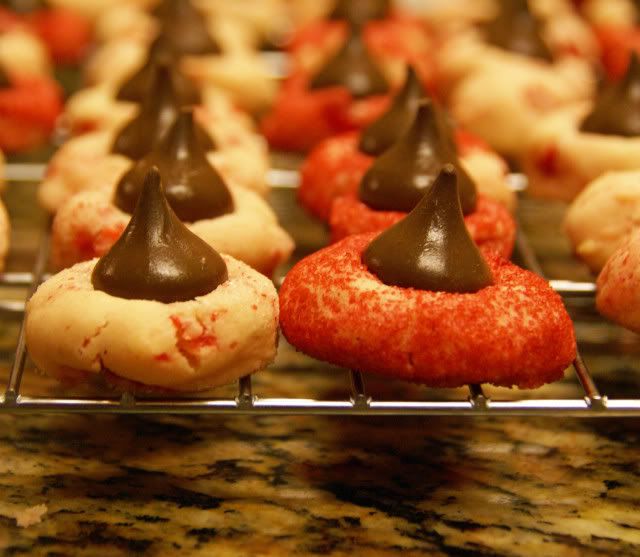
Here's what our cookies looked like when all was said and done. If you want the recipe shoot me a note in the comments and I'll post it if there is enough interest.
6 comments:
LOVE your projects! I think I need to go and get that template! Thanks for sharing these!
Great projects and love the baking pics too.
How cold is it in Florida? I suspect it is chillier here in Ireland :)
yummy...both the cookies and the projects!
love the projects! and cute girls!
Love your projects, your instructions were very clear and thanks for the screenshots.
Mmmm, yummy! I want the recipe:)
Post a Comment