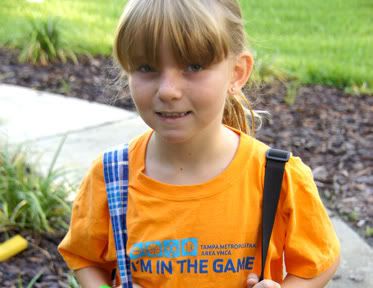
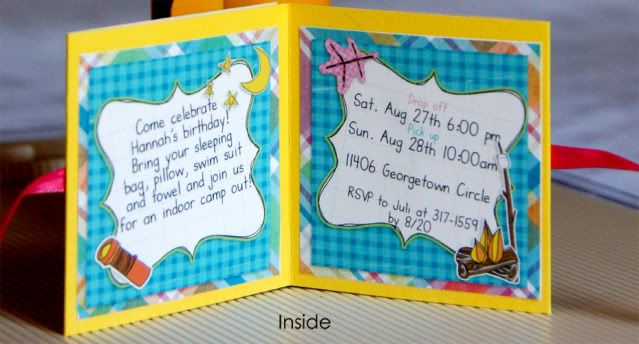
This is my daughter Hannah. She is my baby, little sporty girl, THE ultimate daddy's girl and she's turning 9 in a few weeks. (I can't believe it!) After spending months talking about what kind of birthday party she wanted to have this year, she finally settled on having her first sleep over party at our house. She chose a camping theme and we agreed on only inviting 3 friends to keep things civil. (I've learned from experience that with sleep overs less is more!)
Now it's my turn to think of ways to use the camping theme to turn this into a really fun party for my special girl, her friends and my two assistants (my older daughter Katie and Katie's BFF Nikki). Hannah hired Katie and Nikki to be her personal party assistants. They are in charge of treating Hannah and her friends like gold while providing lots of fun and entertainment - certainly seems like a good deal to me. $15 for two party entertainers for a whole night....wow!
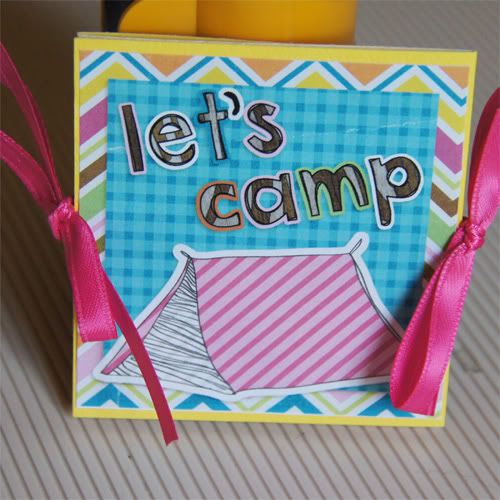
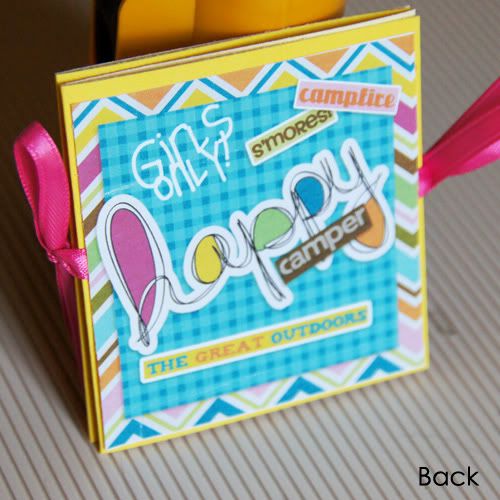
I've been scouring the Internet for ideas for the party and while I did come across some pre-made invites that were kinda cute I can't pass up the opportunity to make her invites. I can't remember the last birthday party we had where I didn't make the invites. It's a tradition! I'm now looking for party supplies, games, activities and more activities so that the girls will stay entertained throughout the night. Check back in over the next few weeks more details on the party - for now...enjoy these cute little invites I came up with. Who wouldn't want to come to party with a fun invite like this?
Theme: Camping Sleep Over
Colors: Turquoise, Pink, Yellow and Purple
Here's how I put this together.
Supplies:
Happy Camper digital scrapbook kit by Jenn Barrette at
Sweet Shoppe Designs
Photoshop Elements 7
White Printer paper and inkjet printer
Fiskars paper trimmer, scissors, Scotch tape, tape runner
12 x 12 yellow card stock
Pink ribbon (Michael's)
Martha Steward Score Board
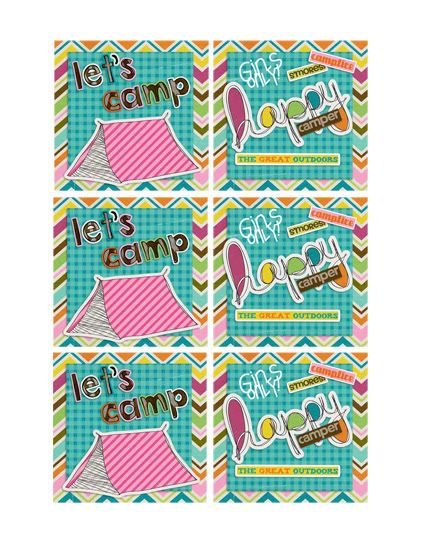
1. I opened Photoshop Elements and created a 3 in x 3 in canvas to design on. I started by designing the front and back panels at 3 in square each. I then designed the inside panels at 2.75 in x 2.75 in each.
2. Copy each panel and layout on 8.5" x 11" sized canvas in Elements. Repeat for how many invites you need. I ended up putting all the fronts and back on one piece of paper and all the insides on a seperate piece of paper. (see my print sheet below)
3. Print out using a color printer on to white printer paper.
4. Cut out all the panels using a paper trimmer and set aside trimmed panels.
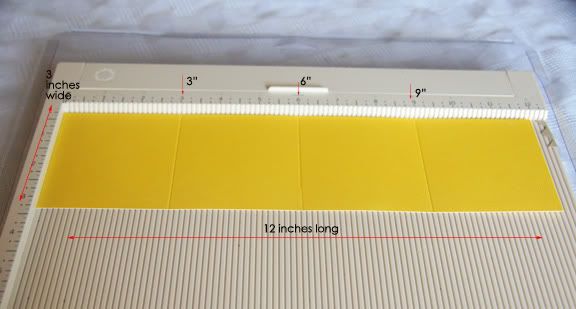
5. Use the paper trimmer to cut a 3" wide x 12" long piece of cardstock from a 12 x 12 piece.
6. Use the Score Board to score at 3", 6" and 9" along the 12" side. (see pic below)
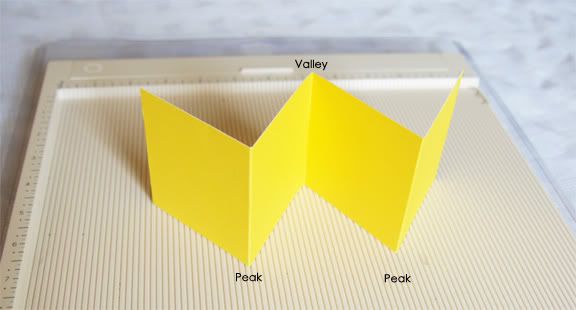
7. Fold the cardstock strip to create 2 peaks and 1 valley (see pic below)
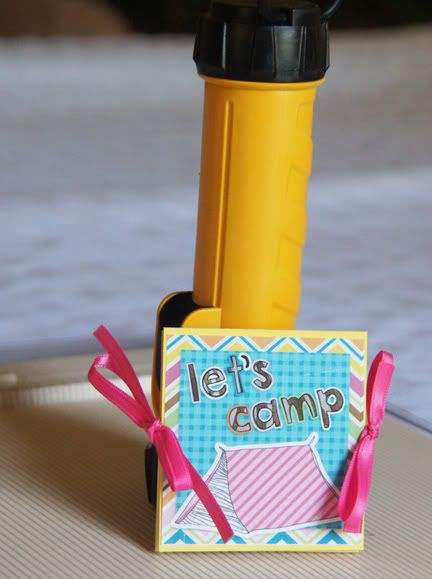
8. Adhere inside panels on to the folded invite using a tape runner or your favorite adhesive.
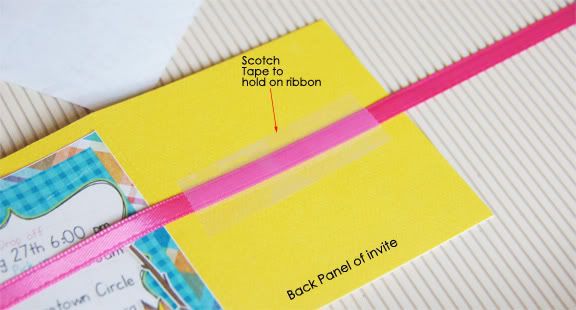
9. Before adhereing the front and back panels I adhered a 12 in. piece of pink ribbon using Scotch tape to both panels.
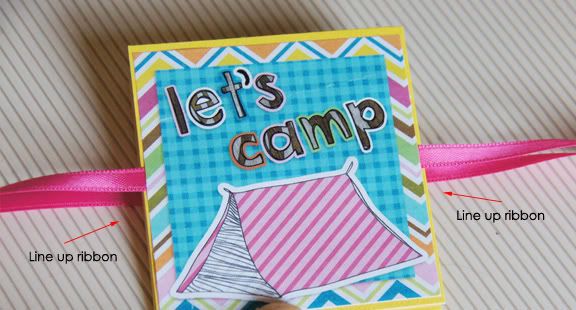
I made sure that the ribbon lined up so that when the invite is closed the two pieces will come together on each side to tie the invite closed. (see pics below)
10. Adhere the front and back panels over the ribbon using tape runner or your favorite heavy duty adhesive. (You don't want the force of tieing and untieing of the ribbon to rip off your decorations.)
11. Tie each side of the invite closed, slip into an envelope and you are set to delivery a party invite that is sure to get your guests excited about their upcoming adventure!
More pics